Visual Composer Basics
Visual Composer is a tool, which helps you manage your content and edit your pages easier. It lets you drag and drop elements around a page without any coding needed.
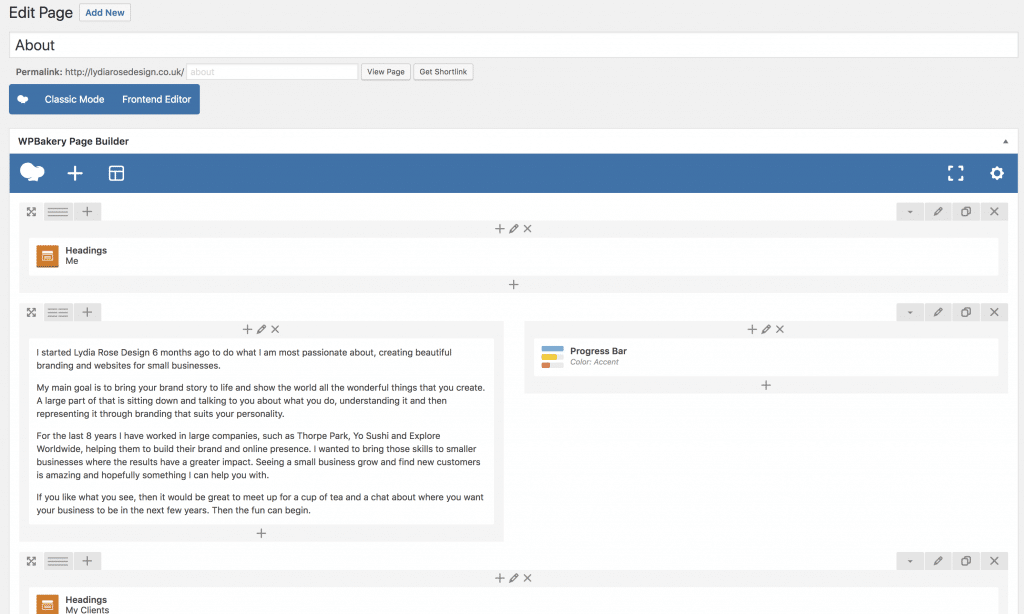
The pages are broken down into rows and columns. Within a row or column, Visual Composer creates module elements, for example, a text box or button.
1. Editing using Visual Composer
To edit any page using visual composer, when you click into a page, click on the Backend or Frontend editor.
Depending on your preference, the Backend and Frontend editors, make it easy to see page layouts and quickly edit your page.
When you click on the Backend Editor, you will see the standard WordPress box, change to have columns and rows.
When you click on Frontend Editor, you will see a preview of the page. Sometimes the elements are slightly out of place, so ensure you preview it as well. 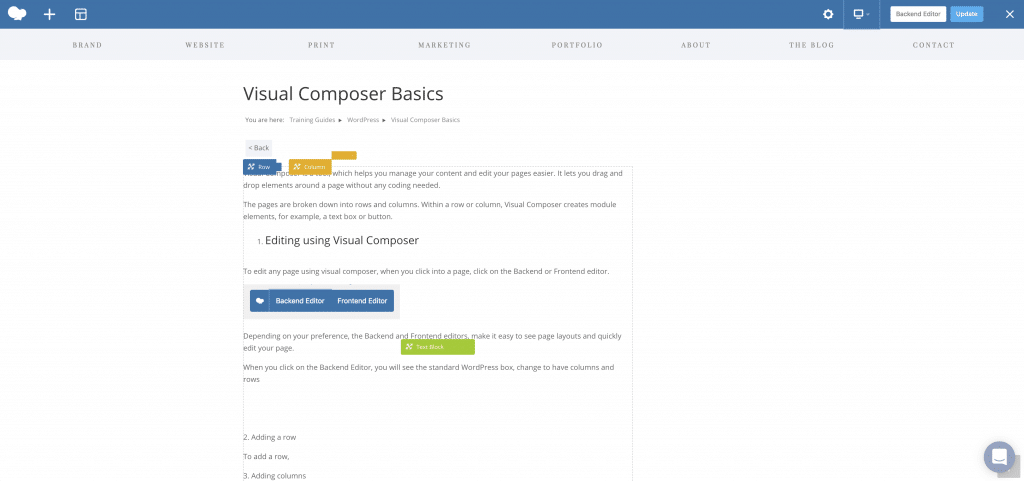
2. Viewing a mobile version.
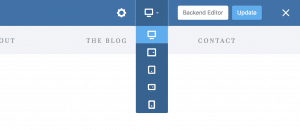
You can also view a mobile version of your website using the front end editor.
- Click on the computer symbol in the top bar.
- Choose which screen size you wish to see.
3. Adding a row
To add a row, scroll to the bottom of the page and click on the + icon. This will bring up the module panel.
Select Row from the top to add in another row.
4. Adding columns
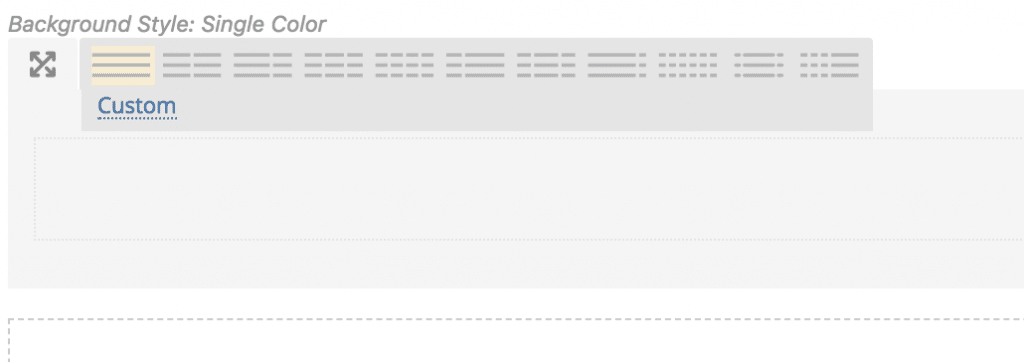
To add a column, hover over the lines in the top left-hand corner of the row, select the number of columns you wish to have.
You can also create a custom layout by clicking on custom and making the columns add up e.g. 1/4 + 1/4 + 1/2, would give you the layout of two quarter sized columns and one half size.
The maximum number of columns you can have is 12 e.g. 1/12 + 1/12 + 1/12 + 1/12 + 1/12 + 1/12 + 1/12 + 1/12 + 1/12 + 1/12 + 1/12 + 1/12
5. Adding a module
You add a module by clicking the + in a column or a row and choose the module you wish to add.

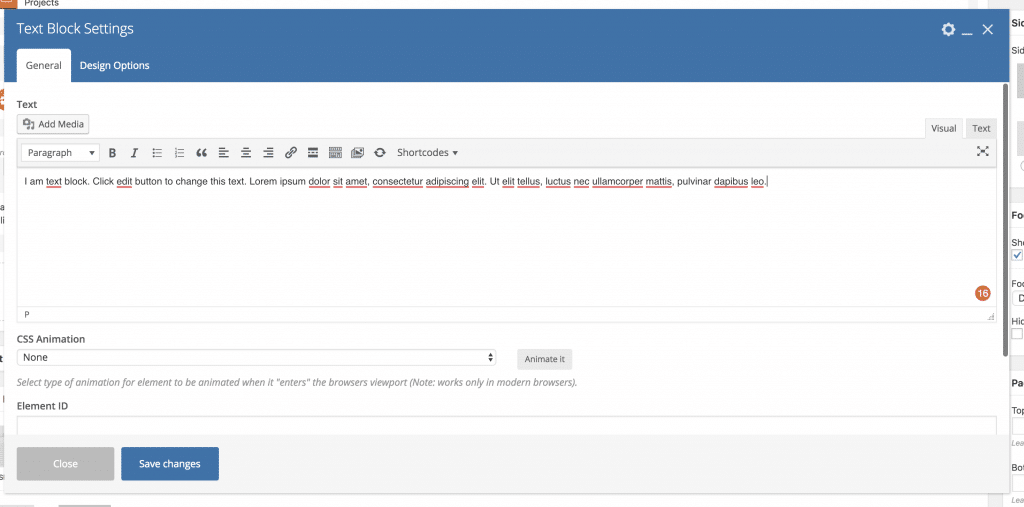
A configuration panel for that layout will appear, choose all the options you require, or edit the text.
Click Save Changes.
5. Editing a module
To edit a module, however over it and click the green pen icon that pops up.
This will open your configuration panel again.
6. Duplicating a module
To duplicate a module, click on the 2 overlapping pages icon.
This can help you save time when you need to create multiple of the same modules e.g. buttons.
6. Deleting a module
To delete a module click on the green X icon. This will remove the icon.


