How to Change the Pictures in Content Boxes
Content Boxes are powerful widgets within Visual Composer that help you structure layouts.
On the websites I built, they are predominantly used on the homepages, however, can be used elsewhere. The widget icon for a content box is this:
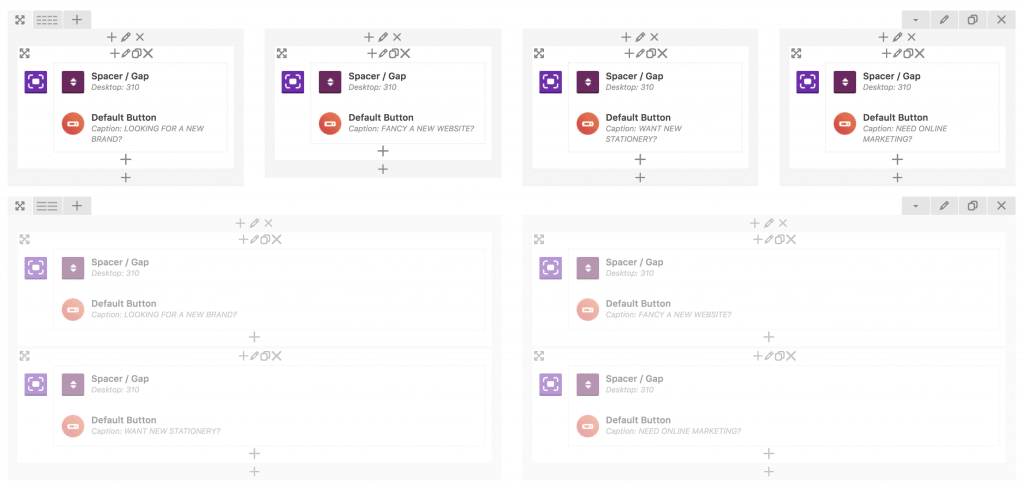
With content boxes, they are often 2 or more layouts to ensure they work across all devices. The mobile version is often greyed out.
When you’re updating any content box, ensure you edit all the layout versions for any given page.
1. Go to pages from the left-hand menu and find the page you wish to edit.
2. Find the content box widget icon. 
3. Find the content box you wish to update and click the pencil above the box.
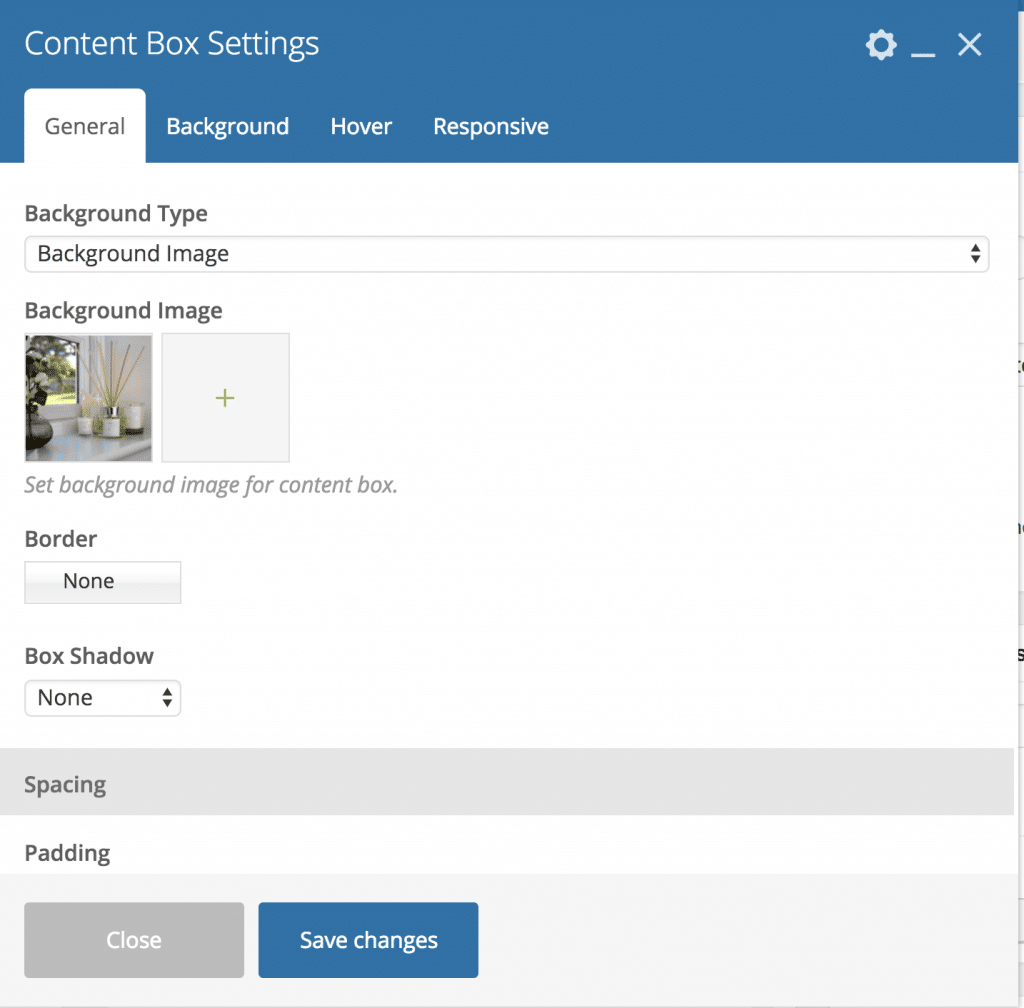
4. A configuration box will open up. Click on the red X on the picture. When it has been removed. Click the Green +.
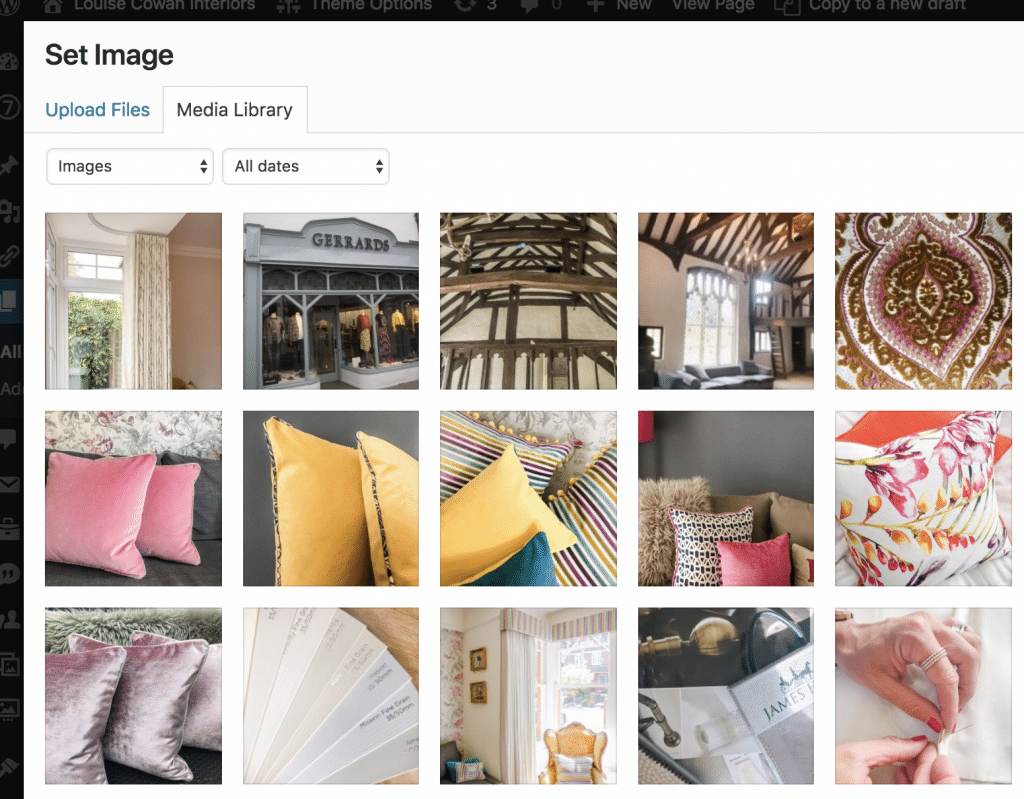
5. Select the photo you wish to use and it will load in from your media library. At this point, you can also click ‘upload’ to add a new image.
Once you have selected your photo. click the insert photo button in the bottom right-hand corner of the media library.
6. You will then see the configuration panel for the content box again. Click “Save Changes” at the bottom.
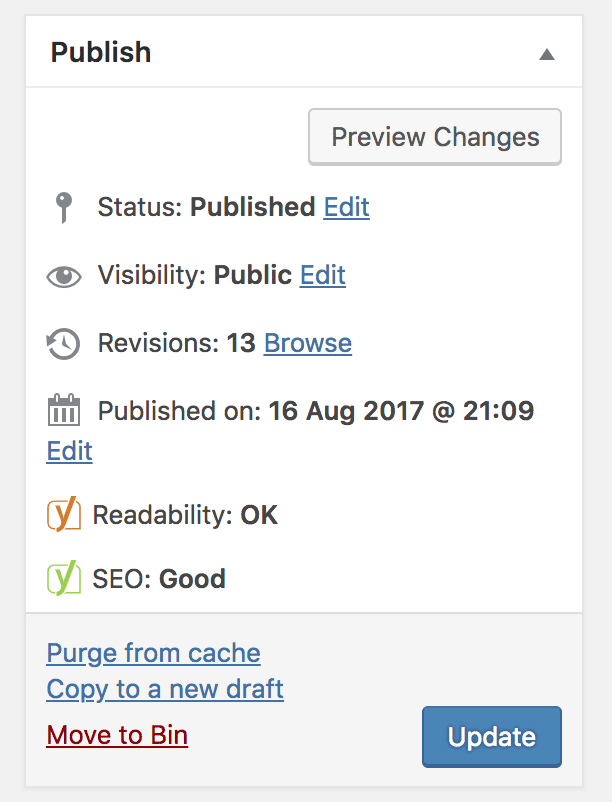
7. Preview the page, by clicking “Preview Changes” in the top right-hand corner of your page editor.

8. To see the mobile view follow the instructions on this article.
9. Click update in the top left hand corner, to publish the page.


