
Editing Individual Slides
When you have the basics of Slider revolution, then you can move onto editing individual slides.
Go to the Slide Editor in Slider Revolution and select the slide you wish to edit.
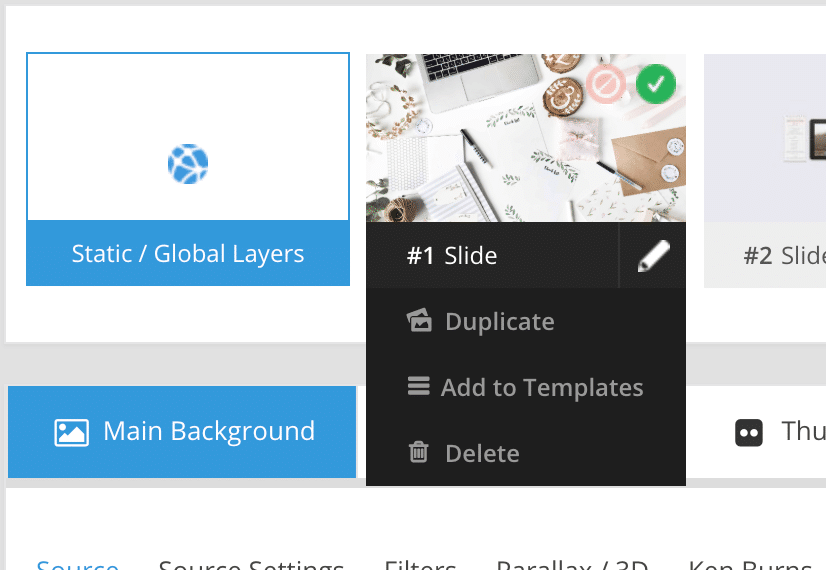
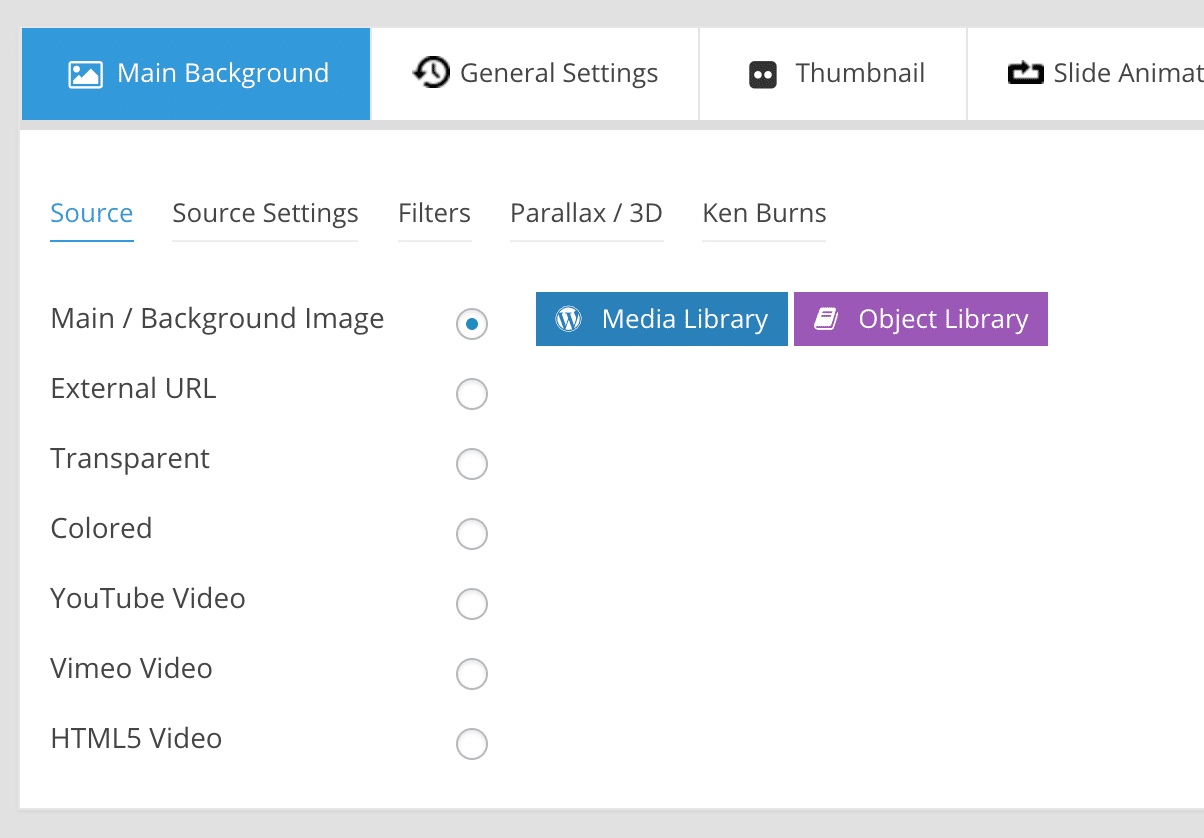
1. Changing the main background image
To change the main background image, video Main/Background and click Media Library. You can also make it transparent, a plain colour or load a video in.
 In Source Settings, you can change the position of the image by using background position. This determines which part of the photo is focused on.
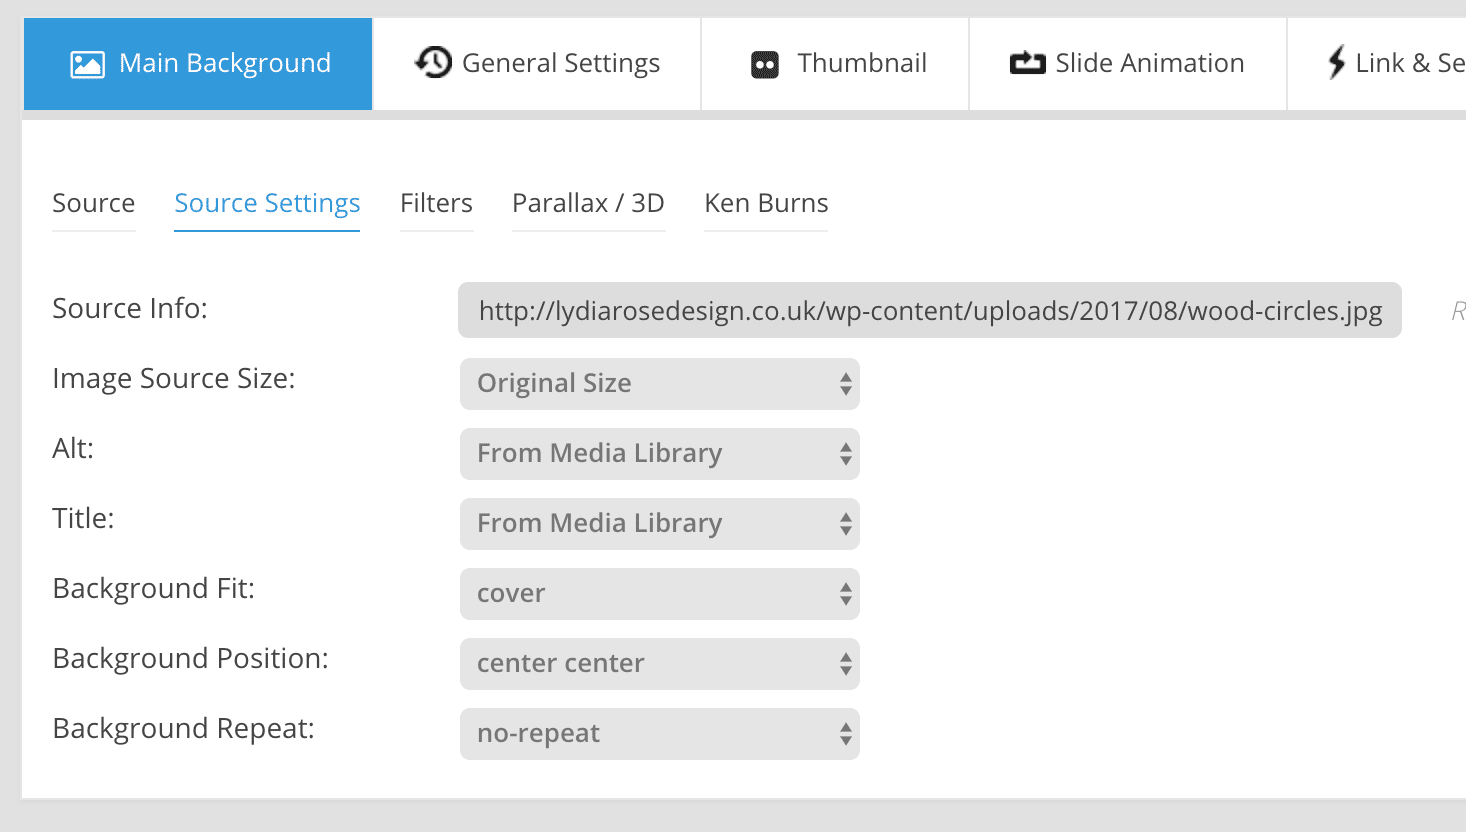 Image size should be around 2500 – 3000px wide for full-screen images, but ensure your image is optimised for the web.
2. Preview for each device.
You can preview how your new image looks on all devices by clicking the preview icon and selecting your display.
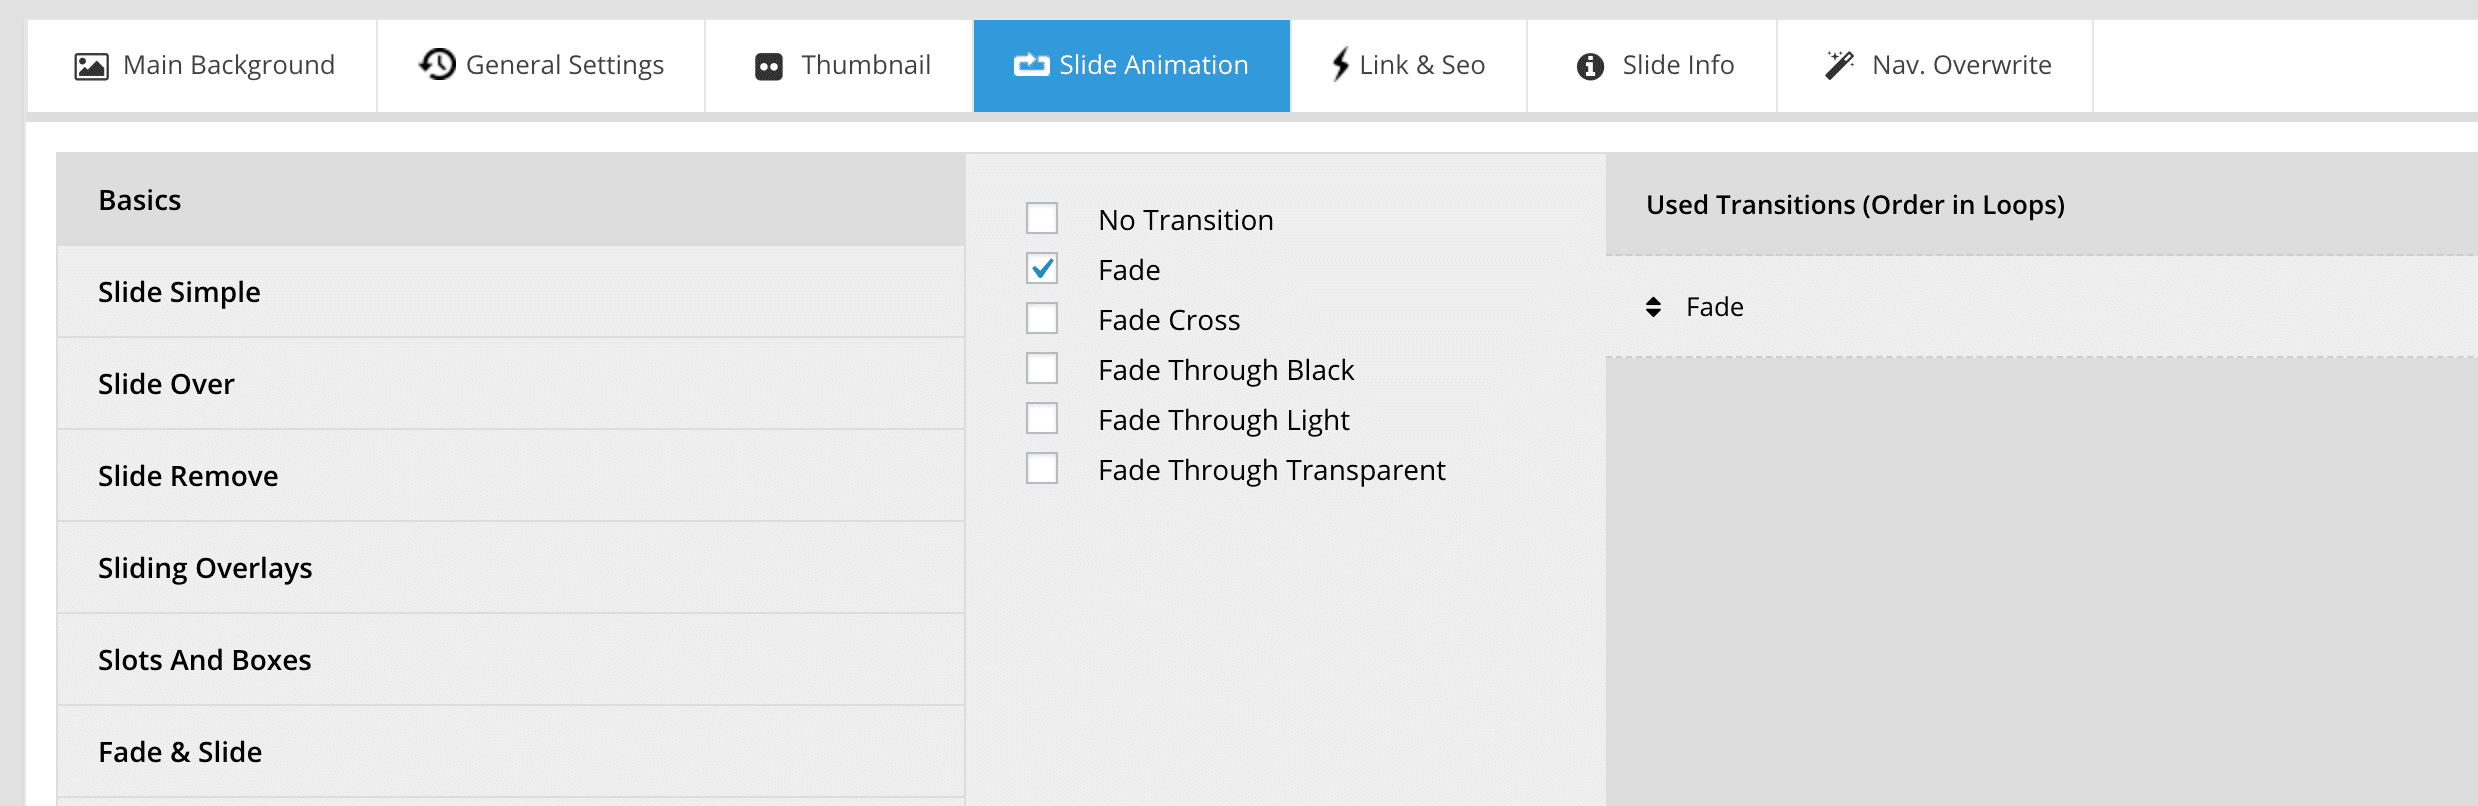
3. Slide Animations
These are found in the 4th tab at the top.
You can change the way your slides transition to make them slicker.
4. Link & SEO
If you want your whole slide to link away to another page, this is where you can add that link in.
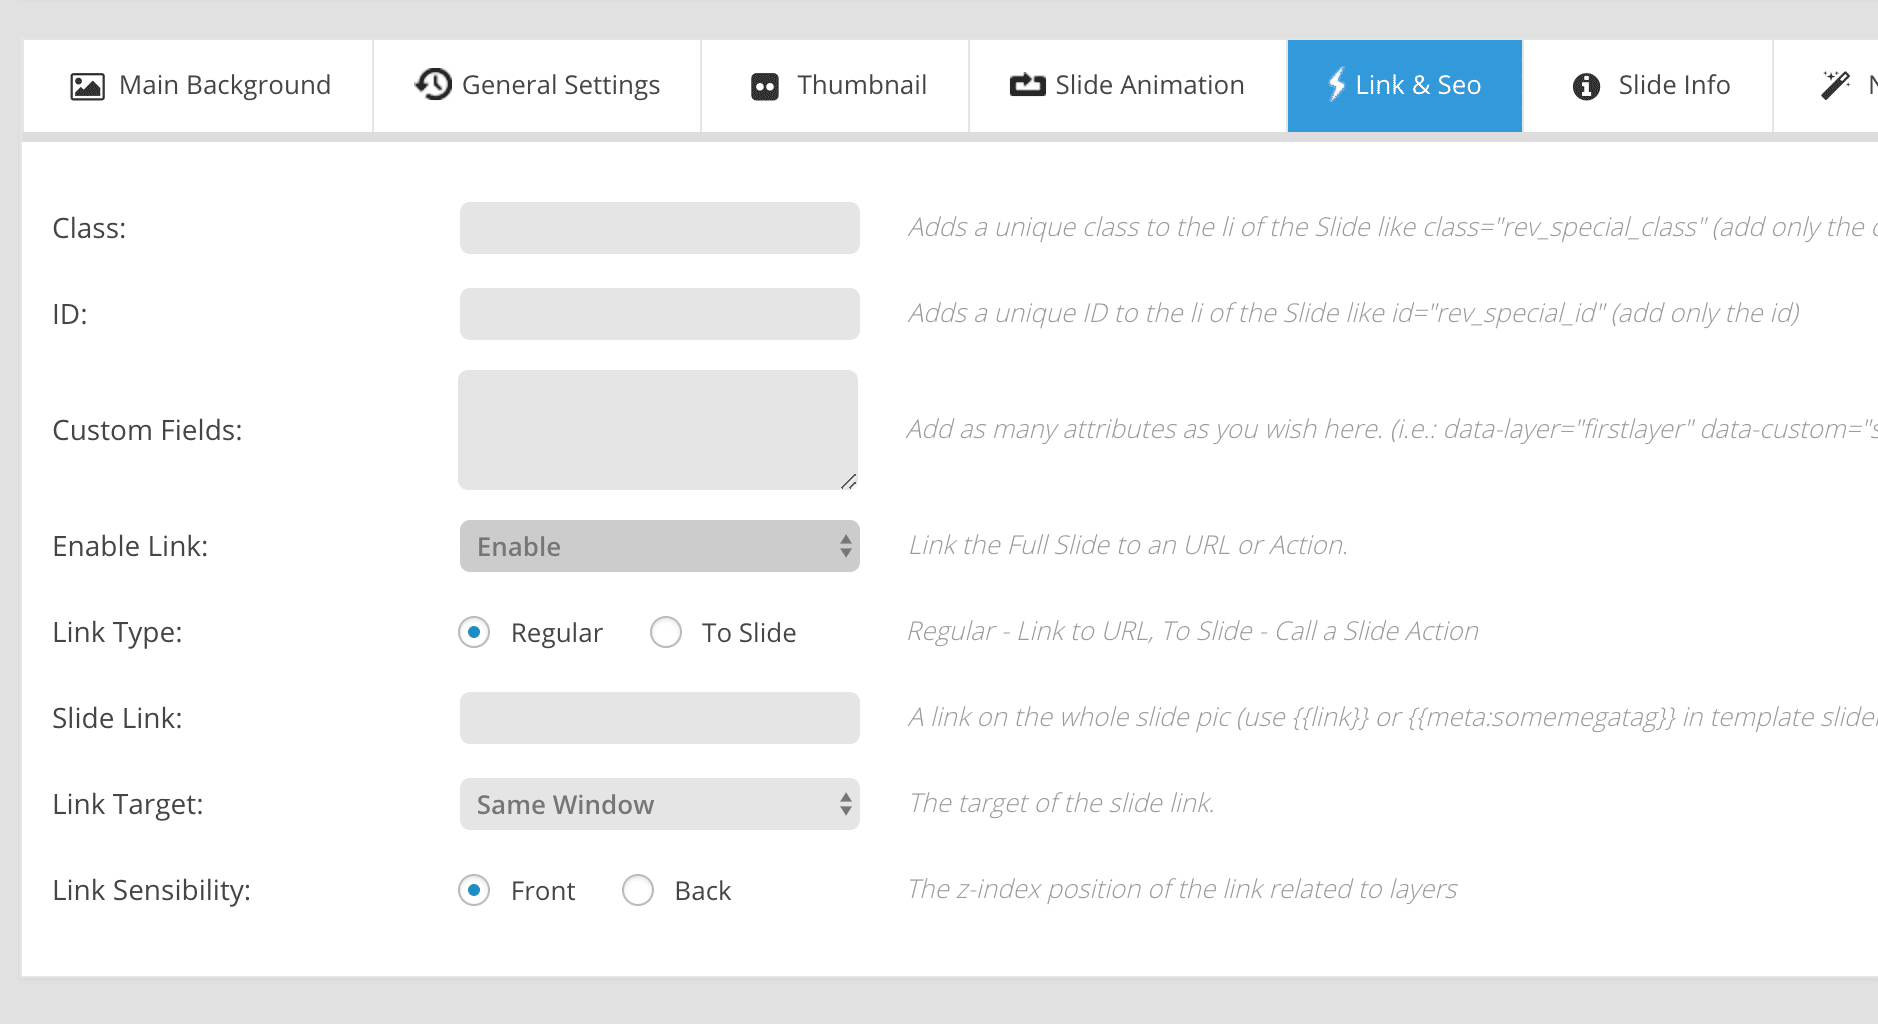
All the other editing is done in the editor at the bottom.
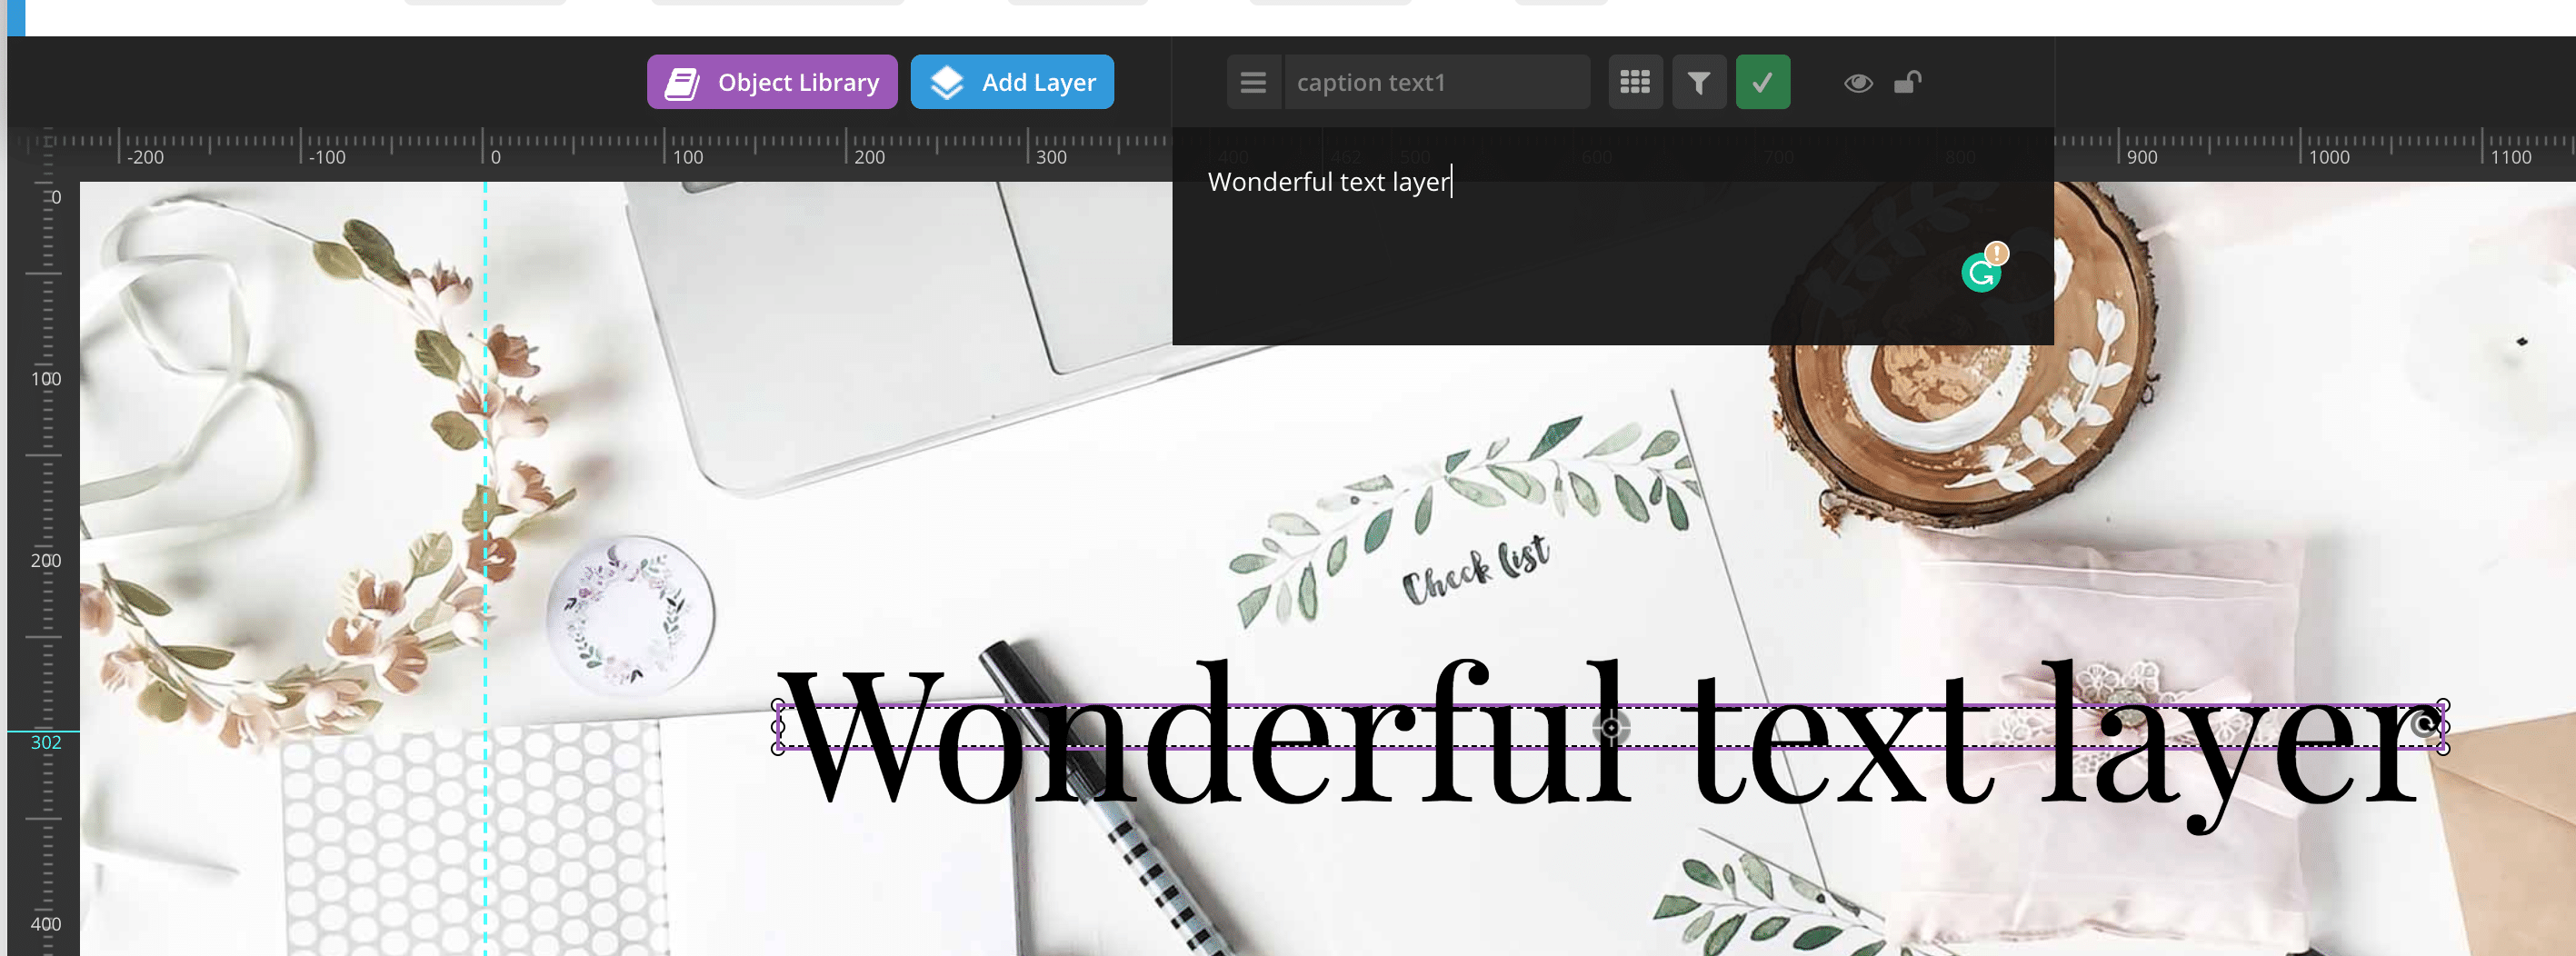
5. Text layers
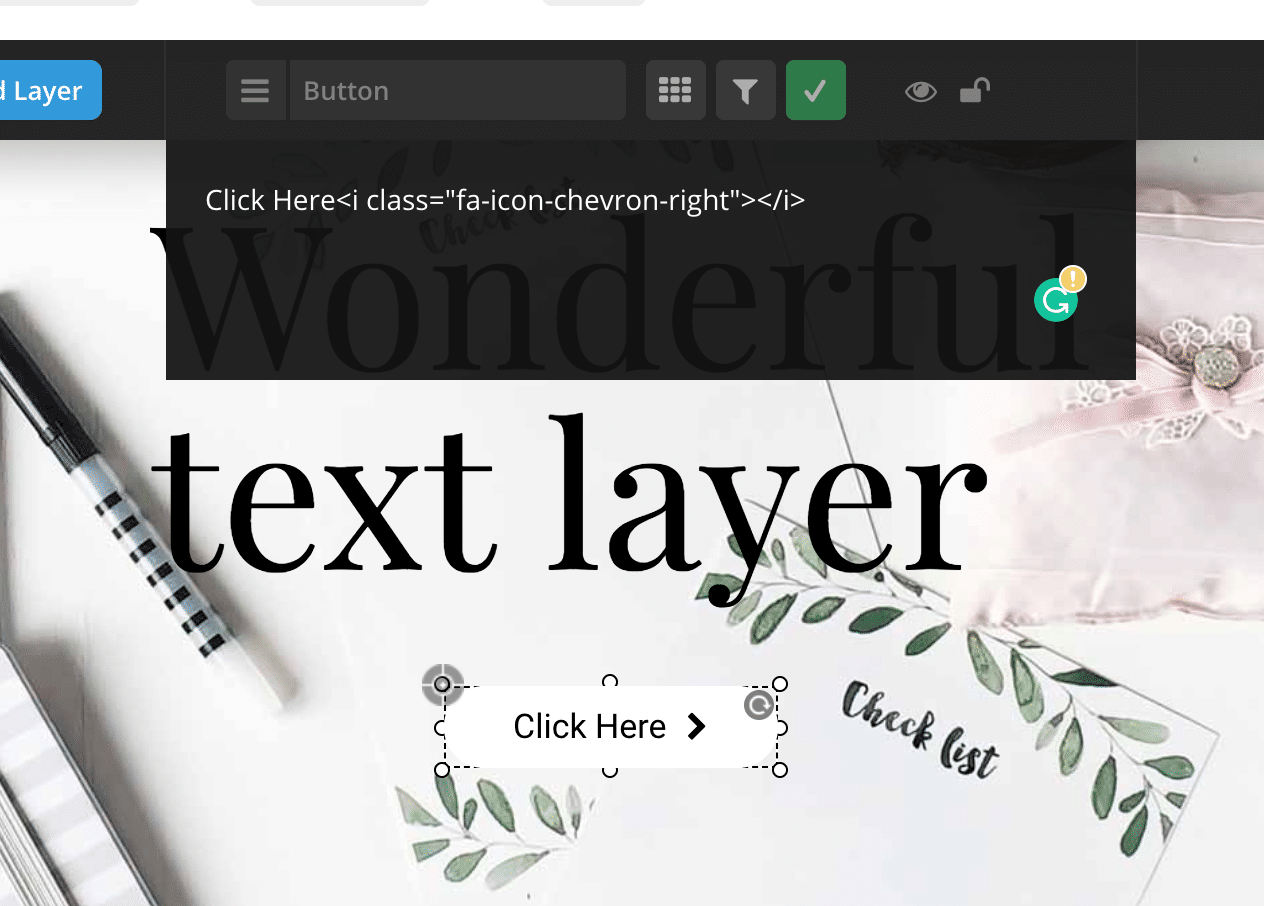
Most banners will have text layers. You can edit the text by double-clicking on a text layer.
A black pop up will appear with the text field for you to edit.
If you want to add 2 lines use a <br> where you want it to separate.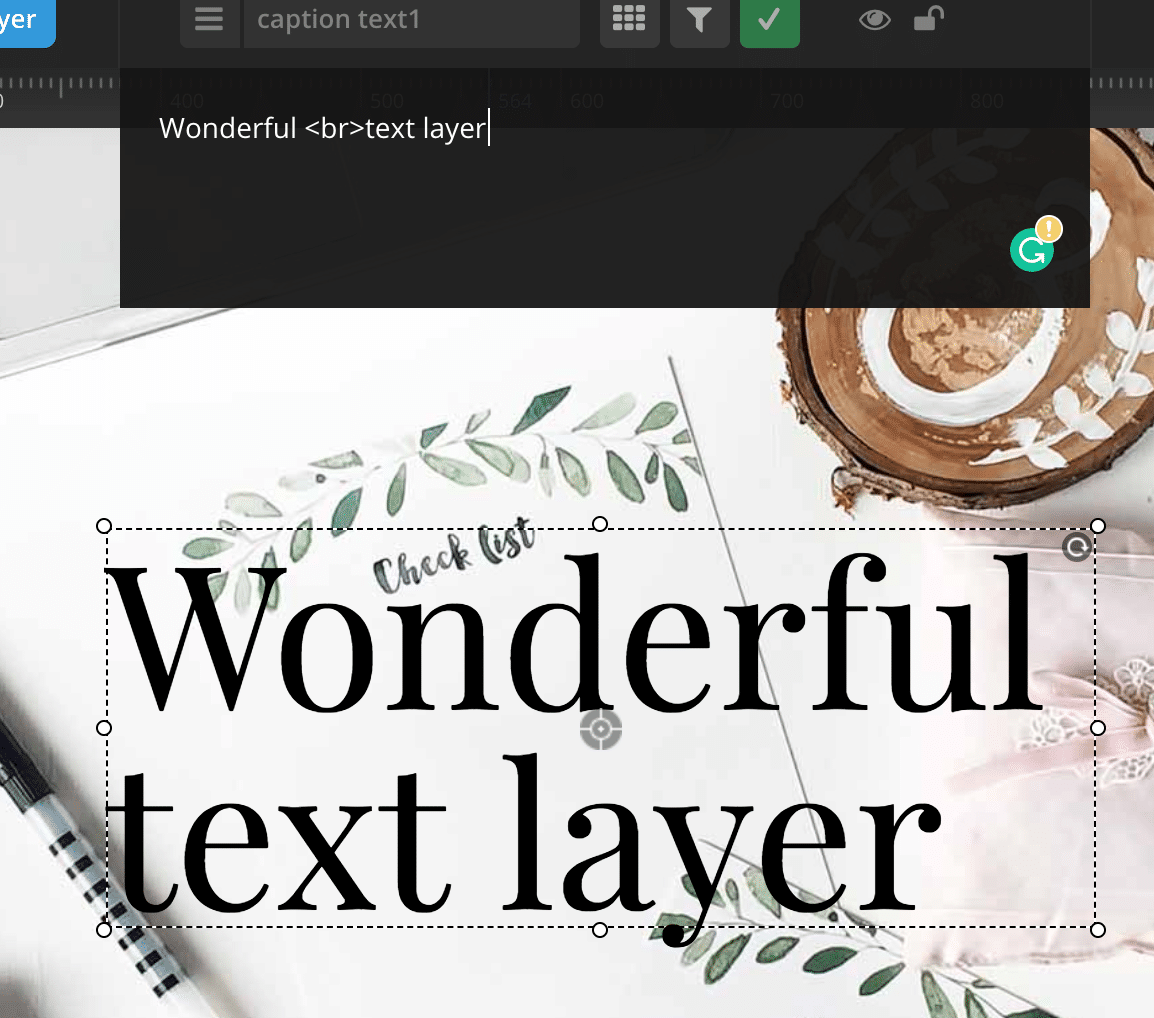
You can add more text by clicking “Add Layer” and selecting Text/HTML.
 Using the style function you can change the way it looks, the font it uses size and colour.
For more options click on the down arrow next to style for making it UPPERCASE, give it a background or an effect on hover. 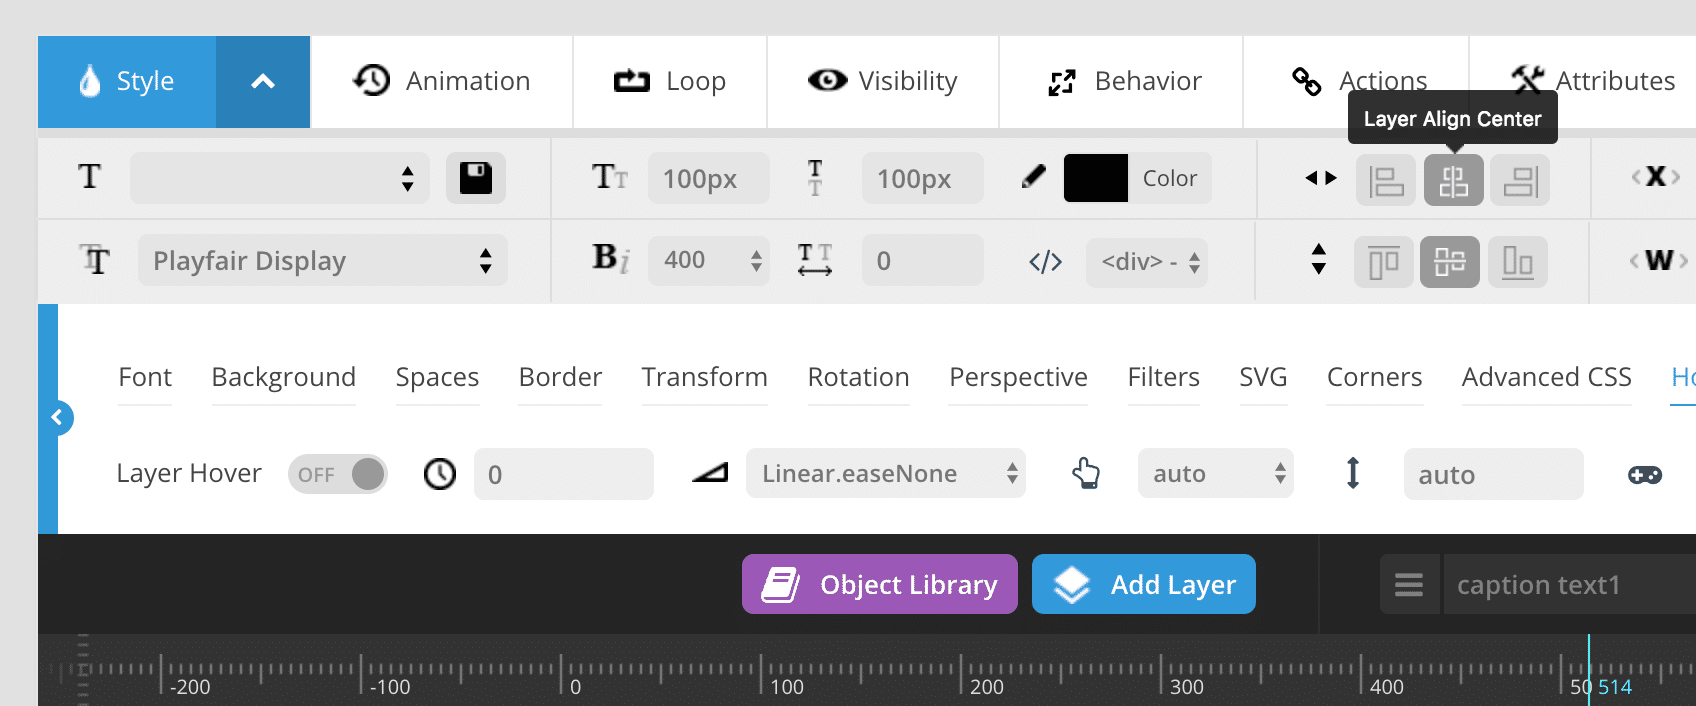
6. Buttons
Another key part is adding or editing buttons on your slide.
To edit a button, double-click on a button and the text black box will appear again.
 Again you can use all the style function to change the way it looks.
You can add a link to a button by clicking on the Actions Tab.
If there isn’t already an action set, click the blue + symbol.
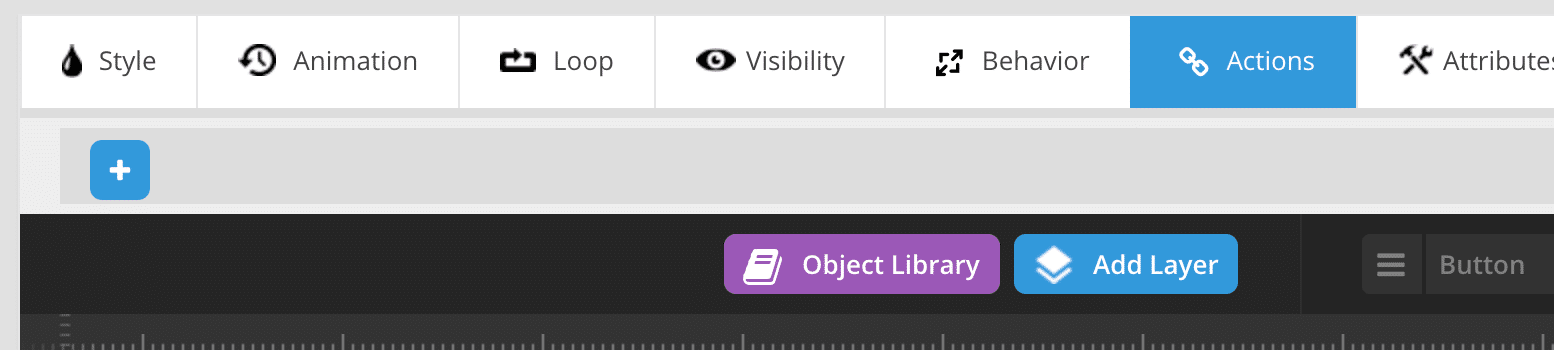 Choose your action and what you want it to do e.g. Click > Simple Link
Here you can paste in a URL of where you want the button to go when clicked.

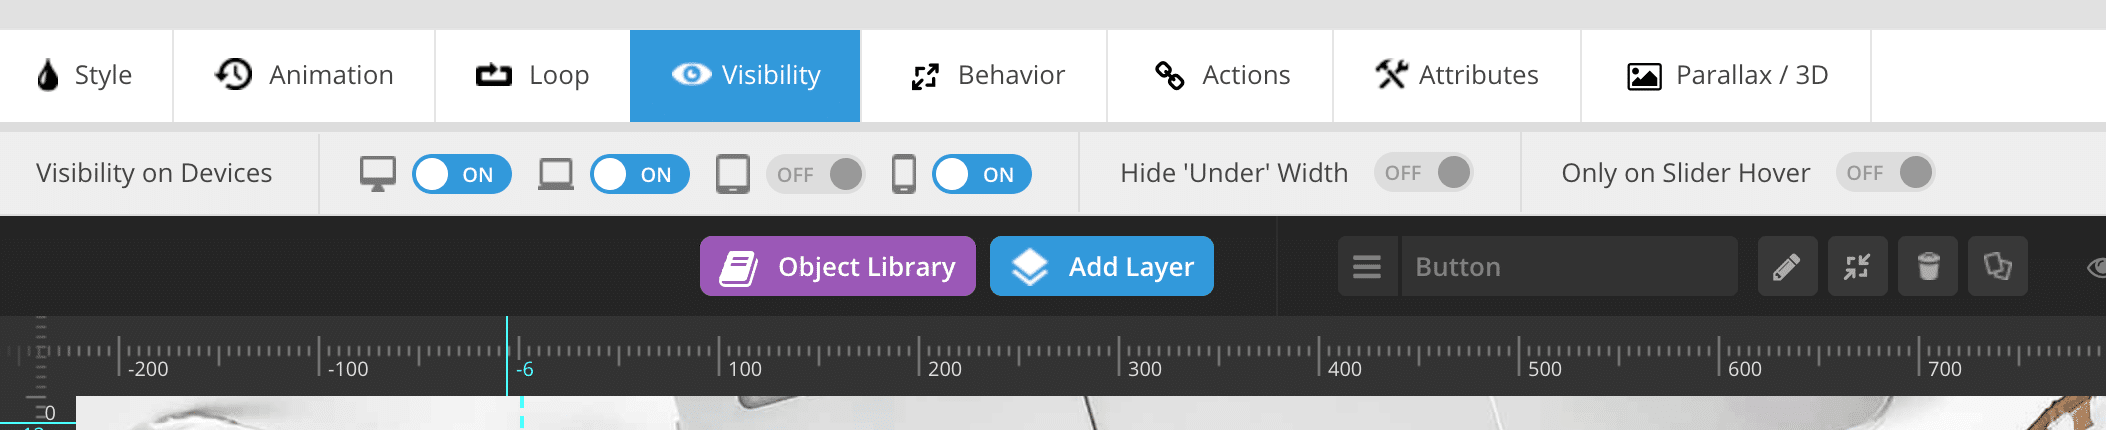
7. Visibility on different devices.
Sometime you may only want a layer to show up on certain devices. To do this, select an element and click Visibility.
Here you can toggle whether you can see them on the different devices.
 To ensure they have worked, you can click Preview.
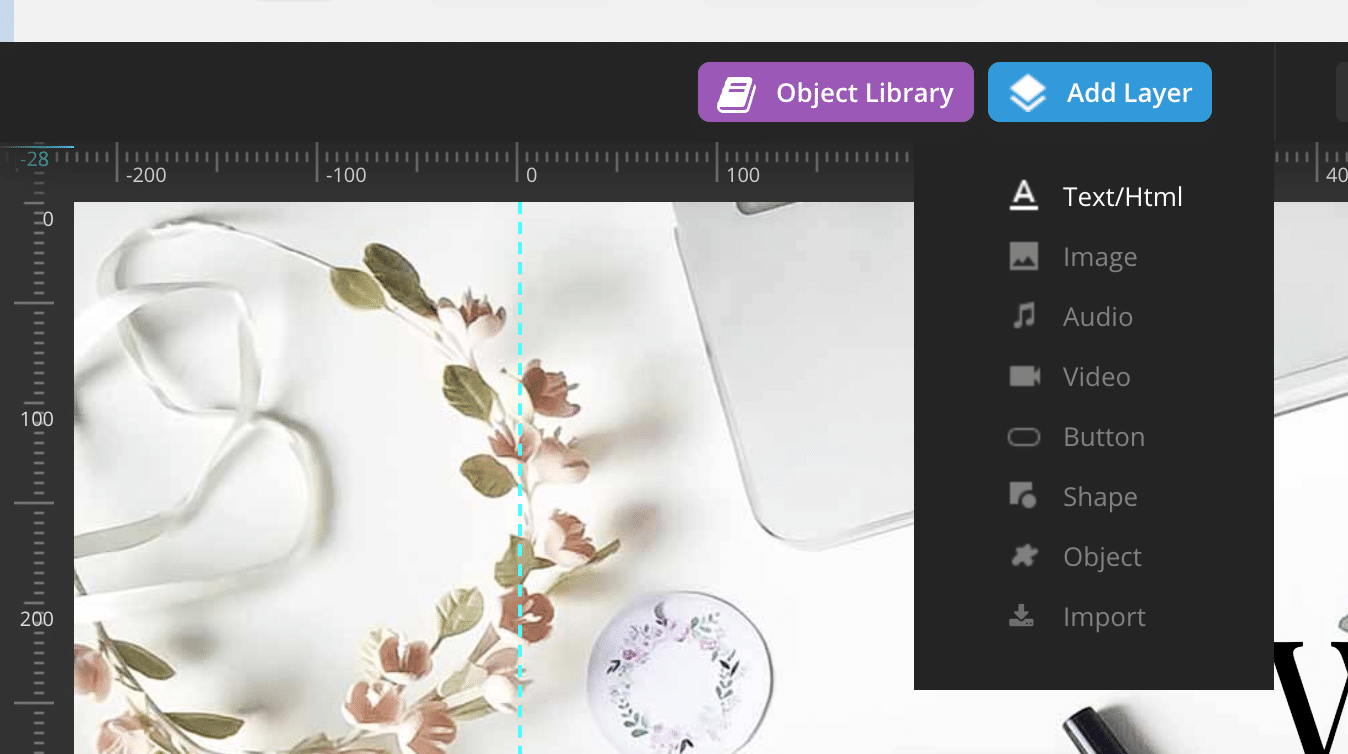
8. Adding a layer
You can add lots of different types of layers depending on how you want your slider to look. To add a layer click “Add Layer” and select what you would like to add.
9. Deleting a layer
To delete a layer, select the layer and click the bin icon next to its name.

8. Aligning Layers
You can align layers on the screen. Click on the layer you wish to align and in the style tab, click the align function you wish to perform.
Unfortunately, you can’t align layers against each other currently.

9. Mobile Editing
Some slides are set up with Mobile and iPad versions of the sliders. If yours is you will see these symbols on you black bar above the picture.
With these, you can click between each screen type and change the elements, including font size, position and colour so they’re right for that screen.

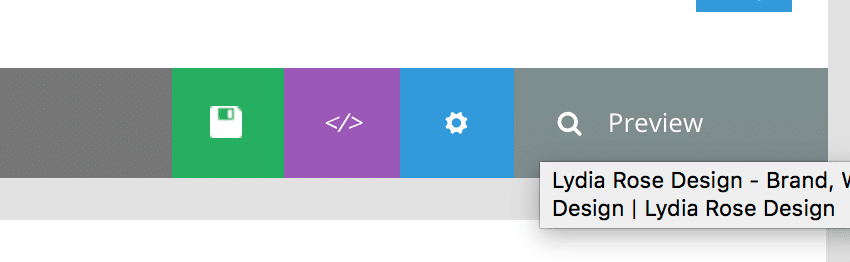
10. Save
Once you’ve finished with your updates, make sure you save it.

For more information and further training visit the Slider Revolution website.